Handstand Progression
From a wall plank to a freestanding hold — and why the first six months are wrist, shoulder and patience work.
On iPhone

Military Calisthenics Coach
Take the drill with you
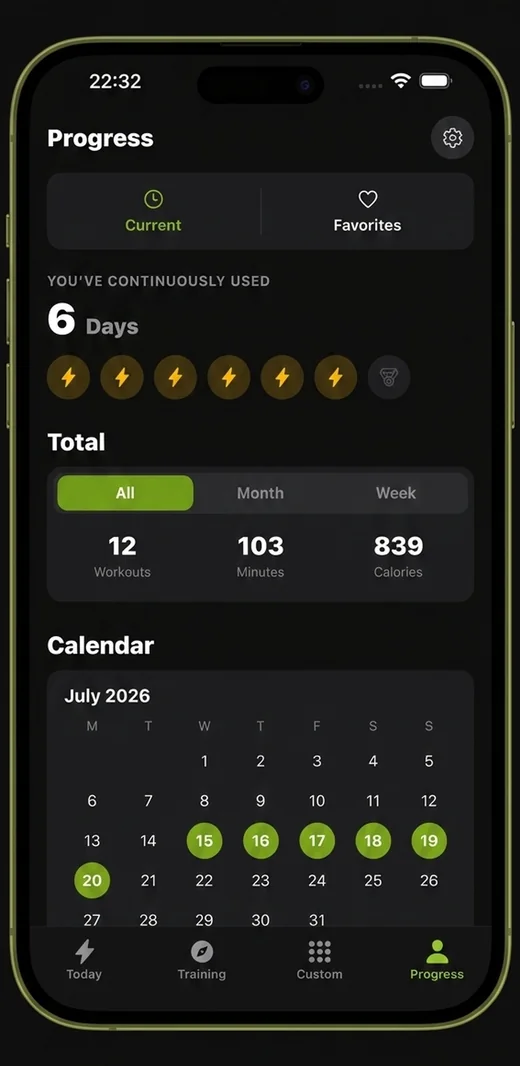
Everything on this site, built into a pocket coach. Military Calisthenics Coach turns the standards into a daily session you can run in a barracks, a garage or a hotel room — timed, tracked and scaled to you.
- A 21-day program that adapts to your level
- Guided timed sessions — no counting, no guessing
- Ranks, streaks and progress you can actually see



A handstand is a balance skill that happens to require strength, not a strength skill that happens to require balance. That distinction changes how you train it: daily short practice beats twice-weekly hard sessions, and most of the first six months is spent teaching your shoulders and wrists to tolerate a position they have never been in.
Before you start: wrists
Your wrists will be the limiting factor for the first month, and they are the most common reason people quit. Two minutes before every session:
- Kneel, hands flat on the floor, fingers forward. Rock gently forward and back.
- Same position, fingers pointing back toward your knees. Rock gently.
- Fists on the floor, knuckles down, rock forward and back.
- Fingertips on the floor, press down and release, ten times.
None of this is dramatic. All of it is the difference between practising handstands for years and stopping after six weeks.
Rung 1 — Plank and hollow
The handstand shape is a hollow body stood on its hands. Before you go upside down, own the shape the right way up: a 60-second plank with the ribs down and the glutes squeezed, and a 40-second hollow hold with the lower back flat.
The core workout builds both.
Target: 60-second plank, 40-second hollow hold.
Rung 2 — Wall plank (feet on the wall)
Facing away from the wall, hands on the floor, feet walked up until your body is at roughly 45 degrees. Push the floor away, squeeze the glutes, don’t let the back arch.
Target: 3 × 45 seconds.
Rung 3 — Chest-to-wall handstand
Turn around. Start with your feet at the wall, hands on the floor, then walk your feet up the wall and your hands in toward it until your chest and stomach are nearly touching.
This is the one that matters. A back-to-wall handstand teaches an arched banana shape that you will spend a year unlearning; chest-to-wall teaches the straight line you actually want. It is far harder and worth every bit of the difficulty.
Target: 3 × 60 seconds with the body straight and the shoulders open.
Rung 4 — Wall taps and weight shifts
From the chest-to-wall position, shift your weight to one hand and lift the other a centimetre off the floor. Replace it. Then the other side.
This teaches the thing that balance actually consists of: shifting load between hands and correcting with the fingers.
Target: 3 × 10 taps per side.
Rung 5 — Heel pulls
From chest-to-wall, pull one heel away from the wall, then the other, and see how long you can hold with neither touching. Your fingers do the correcting — press the fingertips down when you start to fall over, hollow the body slightly when you start to fall back.
Target: 5 × 5-second holds off the wall.
Rung 6 — Freestanding handstand
At some point during rung 5, the wall stops being the thing keeping you up. Move away from it, kick up gently, and balance.
Learn to bail before you need to: turn out of the handstand by twisting toward one side and stepping down, rather than collapsing forward. Practise the bail deliberately a few times.
Target: 10 seconds. Then 30. Then a minute.
The ladder at a glance
| Rung | Drill | Target |
|---|---|---|
| 1 | Plank and hollow hold | 60 sec / 40 sec |
| 2 | Wall plank, feet on wall | 3 × 45 sec |
| 3 | Chest-to-wall handstand | 3 × 60 sec |
| 4 | Wall weight shifts | 3 × 10 per side |
| 5 | Heel pulls off the wall | 5 × 5 sec |
| 6 | Freestanding handstand | 10 sec and up |
How to practise
Ten to fifteen minutes, most days, while fresh. Balance is a nervous-system skill and it responds to frequency rather than to volume — five short sessions a week beats two long ones, and neither should be taken to the point where your shoulders are shaking.
Put it at the start of a training session rather than the end, and never after the pressing work. A handstand practised on tired shoulders is practice at being wobbly.
What it is not
A handstand is not a prerequisite for strength, and it is not on the critical path to anything else on this site. It is a skill worth having for its own sake, and the shoulder and wrist conditioning it demands quietly improves your pressing for years. But if you have four sessions a week and one goal, the best calisthenics workout will change your body more than handstand practice will. Do both if you have the time; do the workout first if you do not.